
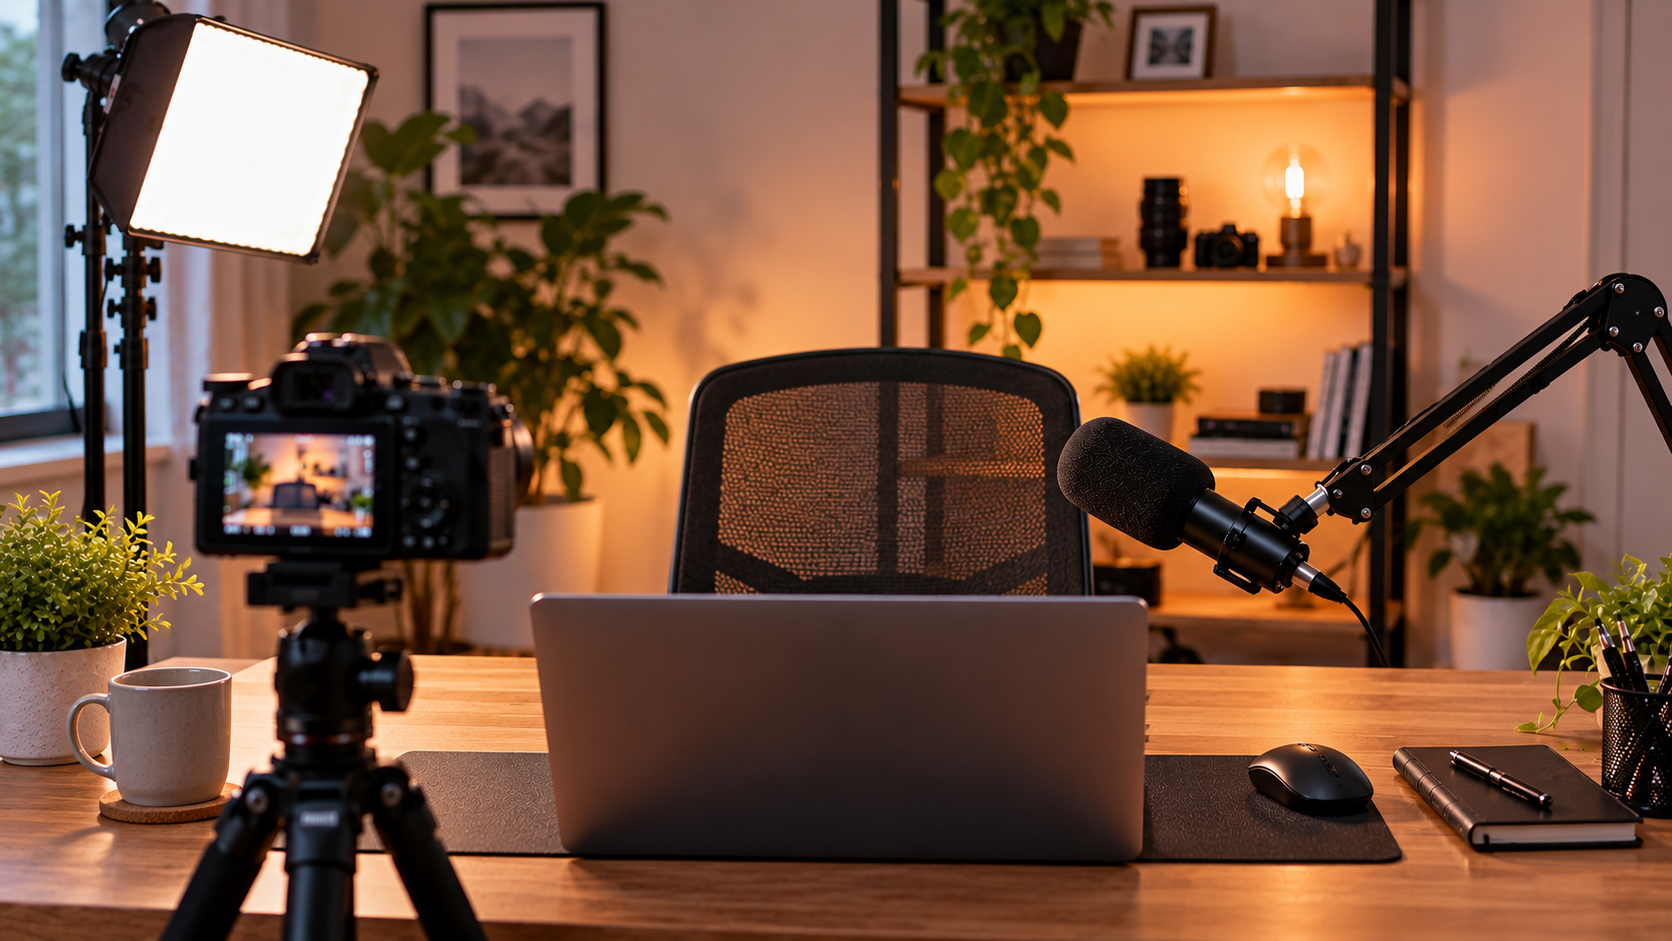
Getting started with video creation can be exciting, but choosing the right equipment can quickly become overwhelming. With so many cameras, microphones, lighting kits, and accessories available, beginners often struggle to understand what they actually need.
The good news is that you don’t need an expensive professional setup to create quality videos. Whether you’re planning to start a YouTube channel, produce social media content, record tutorials, or work on personal projects, the right equipment depends on your goals, budget, and recording environment.
In this guide, we’ll explore the essential video equipment for beginners, explain what to look for before buying, and help you build a practical setup without spending money on unnecessary gear.
1. Choosing Your First Camera for Video Creation
Your first camera doesn’t have to be the most expensive model on the market. For many beginners, a modern smartphone is already capable of recording good-quality videos, especially when paired with proper lighting and clear audio.
If you’re considering a dedicated camera, mirrorless models can offer greater flexibility, interchangeable lenses, and more control over your footage. However, they also require a larger investment and some time to learn.
Before buying, consider video resolution, autofocus performance, image stabilization, battery life, and whether the camera supports an external microphone. Think about where you’ll record most often and how easy the equipment will be to carry and operate.
Beginner tip: Start with the camera you already own whenever possible. Improving your lighting, sound, and filming techniques may make a bigger difference than upgrading your camera immediately.
2. Microphones: Why Good Audio Matters
Clear audio is just as important as good video quality. Even beautifully recorded footage can be difficult to enjoy if viewers struggle to hear what you’re saying.
Built-in camera and smartphone microphones can work in quiet environments, but they may also capture background noise, wind, and unwanted echoes. An external microphone can help improve speech clarity, especially when recording tutorials, interviews, or videos outdoors.
For beginners, there are three common microphone options worth considering:
- Lavalier microphones: Small microphones that clip onto clothing, making them useful for interviews, presentations, and talking-to-camera videos.
- Shotgun microphones: Directional microphones designed to capture sound primarily from the direction they’re pointed, making them useful for filming with a camera.
- USB microphones: Practical options for voiceovers, screen recordings, podcasts, and videos recorded at a desk.
Before purchasing a microphone, check its compatibility with your camera, smartphone, or computer. Also consider whether you need a wired or wireless connection.
Beginner tip: Record a short audio test before filming an entire video. A quiet recording space and proper microphone placement can significantly improve your results without requiring expensive equipment.
3. Lighting Equipment: Make Your Videos Look Better
Good lighting can make a noticeable difference in video quality, even when you’re recording with a smartphone or an entry-level camera. Proper lighting helps your subject appear clearer, reduces distracting shadows, and creates a more professional-looking image.
Fortunately, beginners don’t need a complicated lighting setup. Natural light from a window can be an excellent starting point, especially for indoor recordings during the day.
If you need more control over your lighting, consider these common options:
- LED panel lights: Compact and adjustable lights that can work well for tutorials, interviews, and home recording setups.
- Ring lights: Popular for talking-to-camera videos, beauty content, and recordings where the camera stays in a fixed position.
- Softboxes: Lighting accessories that diffuse light, helping create softer shadows and more even illumination.
When choosing lighting equipment, consider brightness adjustment, color temperature, portability, power options, and the size of your recording space.
Beginner tip: Before purchasing additional lights, try positioning yourself facing a window and avoid placing a bright light source directly behind you. Small adjustments to your setup can improve your footage without increasing your budget.
4. Camera Stabilizers and Gimbals: Capture Smoother Footage
Shaky footage can make even a well-planned video look less professional. Camera stabilizers and gimbals help reduce unwanted movement, making it easier to capture smooth footage while walking, filming moving subjects, or creating dynamic camera shots.
For beginners, a basic tripod may be enough for stationary videos. However, if you plan to record travel videos, product demonstrations, interviews on the move, or creative content, a motorized gimbal can provide greater flexibility.
When choosing a gimbal, consider its compatibility with your camera or smartphone, maximum payload capacity, battery life, portability, and ease of setup. Some models also offer intelligent subject tracking and additional filming modes.
Product worth considering: FeiyuTech SCORP Mini 3 Pro Kit
The FeiyuTech SCORP Mini 3 Pro Kit is an option for creators who want to explore more advanced camera movements. It offers AI-assisted subject tracking and a compact design, while the Kit version includes accessories such as a fill light, articulating arm, extension pole, and carrying case.
Before purchasing, check whether your camera and lens combination is compatible with the gimbal. This is especially important for beginners using interchangeable-lens cameras.
Beginner tip: A gimbal is not essential for every video. Start by improving your camera handling and filming techniques, then consider investing in stabilization equipment when your projects require smoother moving shots.
Affiliate disclosure: This article contains affiliate links. We may earn a commission if you purchase through these links, at no additional cost to you.
Explore the FeiyuTech SCORP Mini 3 Pro Kit
5. Tripods and Camera Supports: Keep Your Shots Steady
A reliable tripod is one of the most practical accessories for beginner video creators. It helps keep your camera steady during tutorials, interviews, product demonstrations, and talking-to-camera videos.
Unlike a motorized gimbal, a tripod is designed to hold your camera in a stable position rather than smooth out movement while walking. This makes it especially useful for recording at home or in a studio.
When choosing a tripod, consider the following:
- Weight capacity: Make sure it can safely support your camera, lens, and any attached accessories.
- Adjustable height: Look for a tripod that allows you to position the camera comfortably at eye level.
- Portability: Lightweight models are easier to carry, while heavier tripods may offer greater stability.
- Mounting compatibility: Check whether the tripod supports your camera or requires a smartphone adapter.
- Head movement: A fluid video head can help produce smoother pans and tilts.
For smartphone creators, a compact tripod with a compatible phone mount may be enough to get started. If you use a dedicated camera, consider a sturdier model that supports your complete setup.
Beginner tip: Prioritize stability and compatibility over extra features. A simple, dependable tripod can remain useful even as you upgrade your camera equipment.
6. Essential Video Accessories: Memory Cards, Batteries, and Storage
Choosing the right camera and microphone is important, but smaller accessories can also make a big difference in your recording experience. Running out of battery power or storage space in the middle of a project can interrupt your workflow and cause unnecessary frustration.
Here are some useful accessories to consider:
- Memory cards: Choose reliable cards with enough capacity and write speed for your camera’s recording settings. Always check the manufacturer’s compatibility recommendations.
- Spare batteries: An extra battery can be especially helpful during outdoor recordings, interviews, or longer filming sessions.
- External storage: Portable SSDs and external hard drives can provide additional space for video files, projects, and backups.
- Card readers and cables: Compatible accessories make it easier to transfer footage between cameras, computers, and storage devices.
- Camera bags and protective cases: Proper storage helps protect your equipment while traveling or moving between recording locations.
You don’t need to purchase every accessory immediately. Start with the items that support your current recording setup and add others as your projects become more demanding.
Beginner tip: Keep at least one additional copy of important footage on a separate storage device or trusted cloud service. Losing your recordings can be far more costly than investing in a simple backup routine.
7. Video Editing Software: Turn Your Footage Into Finished Content
Recording your footage is only part of the video creation process. Editing software allows you to organize clips, remove unwanted sections, improve audio, add titles, and prepare your videos for publishing.
Beginners don’t necessarily need complex professional software. A straightforward editor with essential features can be a better starting point, especially when you’re still learning how to structure and polish your videos.
When choosing video editing software, consider:
- Ease of use: Look for an interface that makes importing, trimming, and arranging clips manageable.
- Essential editing tools: Features such as transitions, titles, audio adjustments, and basic color correction can support everyday projects.
- Device compatibility: Make sure the software works with your computer’s operating system and hardware.
- Export options: Check whether it supports the resolutions and video formats required by your publishing platforms.
- Pricing: Compare free versions, subscriptions, and one-time licenses to understand the total cost.
For beginners who prefer an accessible editing workflow, Movavi Video Editor is one option to explore. It offers tools for trimming footage, adding transitions, working with audio, and creating videos without requiring advanced editing experience.
However, it’s worth comparing different editors before making a purchase. Free alternatives may be sufficient for simpler projects, while more advanced software can become useful as your editing needs grow.
Beginner tip: Focus on learning basic editing techniques before investing in expensive software. Clean cuts, understandable audio, and a clear video structure often matter more than complicated visual effects.
Explore Movavi Video Editing Software
8. How to Build a Beginner Video Setup on a Budget
Building your first video creation setup doesn’t mean buying every piece of equipment at once. The smartest approach is to start with the essentials and upgrade gradually as you discover what your projects actually require.
If you’re working with a limited budget, consider prioritizing your purchases in this order:
- Camera: Start with your smartphone or a camera you already own before investing in a dedicated model.
- Audio: Consider an external microphone if your recordings involve speaking, interviews, or narration.
- Lighting: Experiment with natural light before purchasing LED panels or other lighting equipment.
- Tripod: A stable camera support can make recording easier and more consistent.
- Editing software: Choose an editor that fits your experience level, computer, and budget.
- Additional accessories: Add spare batteries, storage, and a compatible gimbal when your filming needs justify them.
For example, someone creating educational videos at home may benefit more from a microphone, tripod, and basic lighting than from an expensive camera stabilizer. On the other hand, a creator who frequently records moving shots may find a compatible gimbal more useful.
Beginner tip: Before buying anything, make a list of the videos you want to create and identify the problems your current equipment cannot solve. This helps you spend money on improvements that genuinely matter.
Final Thoughts: Start Simple and Upgrade as You Grow
Choosing the right video equipment for beginners is less about buying the most expensive products and more about understanding what your projects actually need.
A smartphone, a reliable microphone, good lighting, and a stable tripod can provide a practical foundation for creating quality videos. As your skills improve, you can explore dedicated cameras, compatible stabilizers, and editing software that offer additional creative flexibility.
Remember that equipment is only one part of video creation. Planning your content, practicing your filming techniques, and learning basic editing skills are just as important.
Start with what you have, invest in improvements that solve real problems, and build your video creation setup at your own pace.